Whether you are a budding gardener or a seasoned cultivator, the process of harvesting vegetables can occasionally leave you feeling perplexed. Timing is crucial when it comes to flavorful produce. Otherwise, your vegetables might not have an enjoyable taste! Here are some practical garden harvest tips that will help you pick vegetables at their peak:
Harvesting Vegetables – When?
Most seed packets have information on germination and growth timelines. This is helpful for deciding the timing of harvesting vegetables. However, there are many other factors that one can rely on for this purpose.
The type of seed, soil conditions, temperature, season, irrigation, sunlight exposure, and the growing environment (whether in a garden, indoors, or a greenhouse) all play a role in determining the optimal time for harvesting vegetables.
The right time for harvesting vegetables is early morning, right after they mature. This timing ensures that they remain fresh and crisp for an extended period. You can also carry out the same in the late evenings after the day heat passes away.
Avoid harvesting vegetables during the mid-day heat, as they may tend to wilt away. However, you can pluck some veggies like zucchini, tomatoes, peppers, and roots like carrots at any time during the day. But make sure to refrigerate them as soon as you harvest.
Some vegetables continue to improve quality for some days or degrade themselves, post-harvest. This life process of some matured veggies can be slowed down by refrigeration. On the other hand, the same can be sped up for some veggies like green tomatoes by keeping them at room temperature.
Harvesting Vegetables – How?
When harvesting vegetables, you engage all your senses in the pursuit of ripeness. From smelling the earthy aromas to tapping for firmness, observing color changes, puncturing the skin, and even tasting a morsel, each action contributes to the art of harvesting vegetables.
Harvesting vegetables varies for each crop. Take beans and peas, for example, You can harvest them when their pods are full, and their color should be dark green without fading.
Another example is corn. When corn reaches its optimal readiness, it is crucial to harvest it promptly within 3 days (72 hours). Delaying the harvest can lead to degradation. Harvest when the kernels are juicy and plump to ensure the best quality. The silk should be dry and brown in color.
It is crucial to handle the produce with care while harvesting. Follow the guidelines mentioned below for a successful harvest.
Gentle Picking: Avoid yanking the produce. Stems and branches can break easily, making the plant susceptible to disease.
Two-Handed Approach: Use both hands when picking. Hold the stem with one hand and gently pluck with the other.
Ripe but Resistant: If the crop is ripe but does not come off easily by hand (as with eggplants), consider using scissors, pruners, or a knife.
Remember, a delicate touch ensures healthy, flavourful produce!
Guidelines on Harvesting Vegetables
Alliums

Kolforn (Wikimedia), -2021-06-08 Onion plants, Trimingham, CC BY-SA 4.0
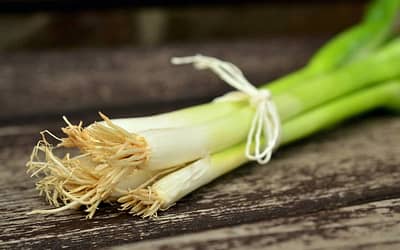
The allium family includes garlic, leeks, onions, and chives. As these veggies mature, their leafy green top layers gradually dry out and eventually die back. However, their papery skin will remain intact but cease to grow noticeably. This is the right time for harvesting them.
Carefully dig these veggies out of the soil and brush away the debris. Allow them to dry out for some time and then hang them a few days for air drying. This process ensures that your allium crops are ready for storage and culinary use. However, it is not advisable to store them on the ground for longer durations.
Leafy Herbs (Like Basil)
Luwenn, L Basil 1, CC BY-SA 4.0
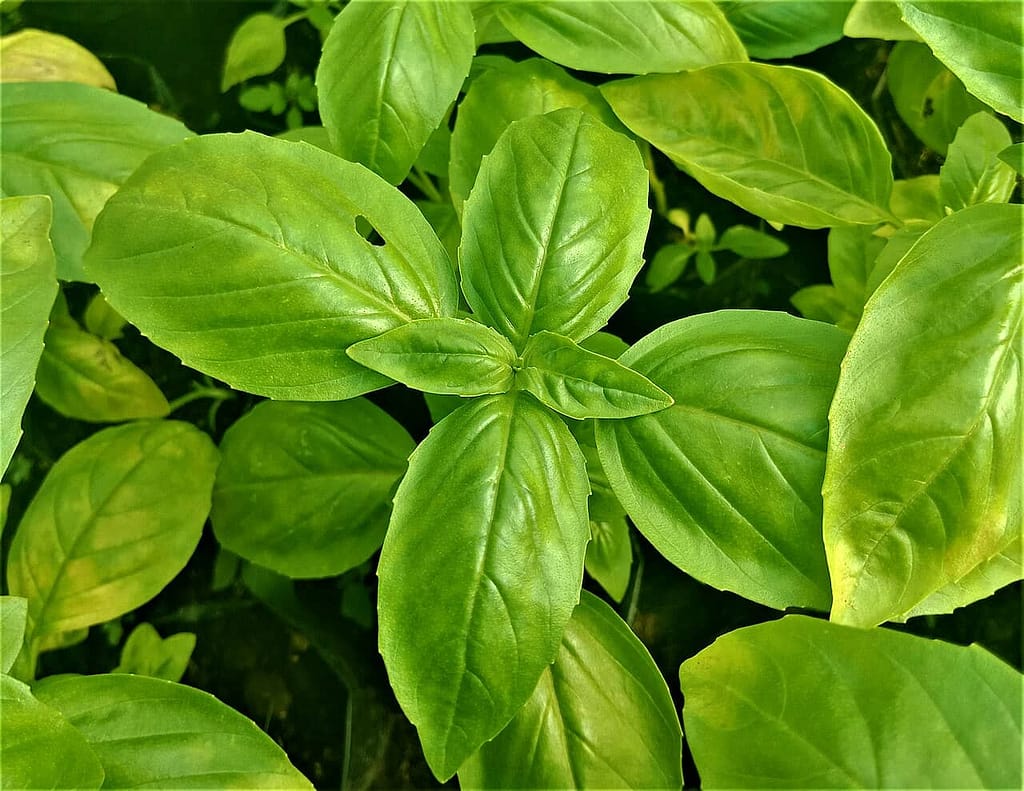
To maintain the sweet flavor of these herbs, consider pruning off their edible flowers. By doing so, you prevent them from seeding, after which they turn bitter. You can use these flowers in various dishes as culinary additions.
Simultaneously, you can initiate the herb harvest by trimming off the leaf clusters from the upper part of the stems. This practice stimulates bushier growth and boosts the yield.
Some plants like Cardinal basil or Thai basil do not fall into the category of true basils. Instead, they belong to the group of medicinal Tulsi plants. So, you can allow these plants to flower, as doing so enhances their intended bitter Flavors.
Beans

Kolforn (Wikimedia), -2019-07-19 Runner bean plants with young beans (Phaseolus coccineus), Trimingham, Norfolk (1), CC BY-SA 4.0
When the pole or snap beans become ‘pencil-thick, it is time to pluck them off. Slender beans lack flavour and overripen ones are tough. Often bulging pods represent overripening.
Gently snip or break pods off above the cap from the stems. Note that, yanking may damage stems. So, use two hands while harvesting. Use one hand for holding stems, and the other for plucking.
Once the beans start growing, maintain a routine of harvesting every other day. This stimulates continued production. Bush bean plants usually produce 2 – 3 times after the first harvest.
If you intend to grow beans for seeds, let them overripen on stems. They will grow oversized, more fibrous, tough, and stringy. Simply pluck and dry them for seeds that you
can plant later. But these beans will not be suitable for eating due to their unpleasant flavor.
Brassicas
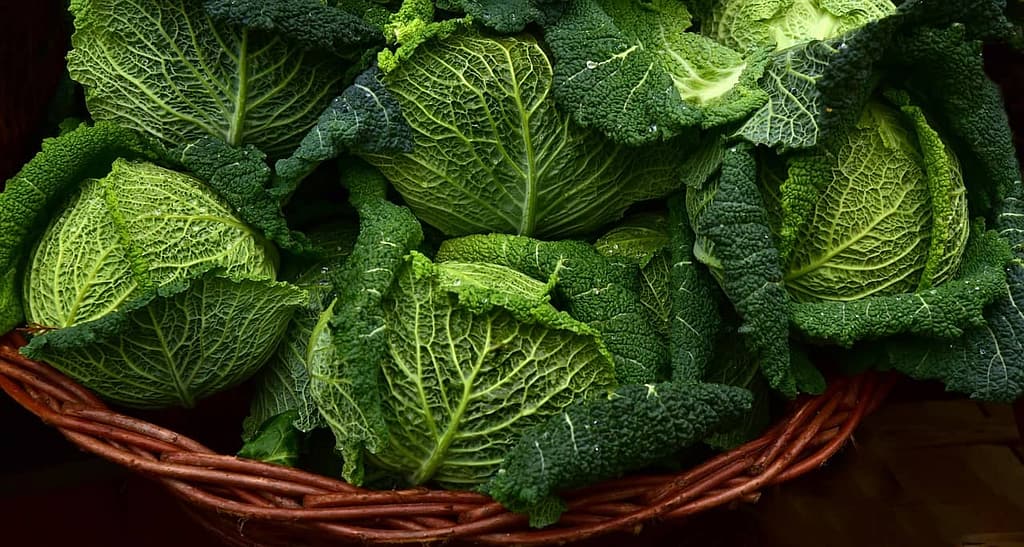
The Brassica family includes vegetables such as cabbage, broccoli, cauliflower, and Brussels sprouts. The optimal time to harvest brassicas is when the florets begin to open. Waiting too long can result in a less crisp and less flavourful brassica crop.
Therefore, timing is crucial. Fortunately, with experience, you will develop an intuitive sense of when these vegetables are ready for harvest!
Some veggies like Brussels sprouts and cauliflower cease to grow after harvesting. Therefore, it is best to wait until they mature on the plant itself but pluck them before the heads start to loosen.
Tomatillos
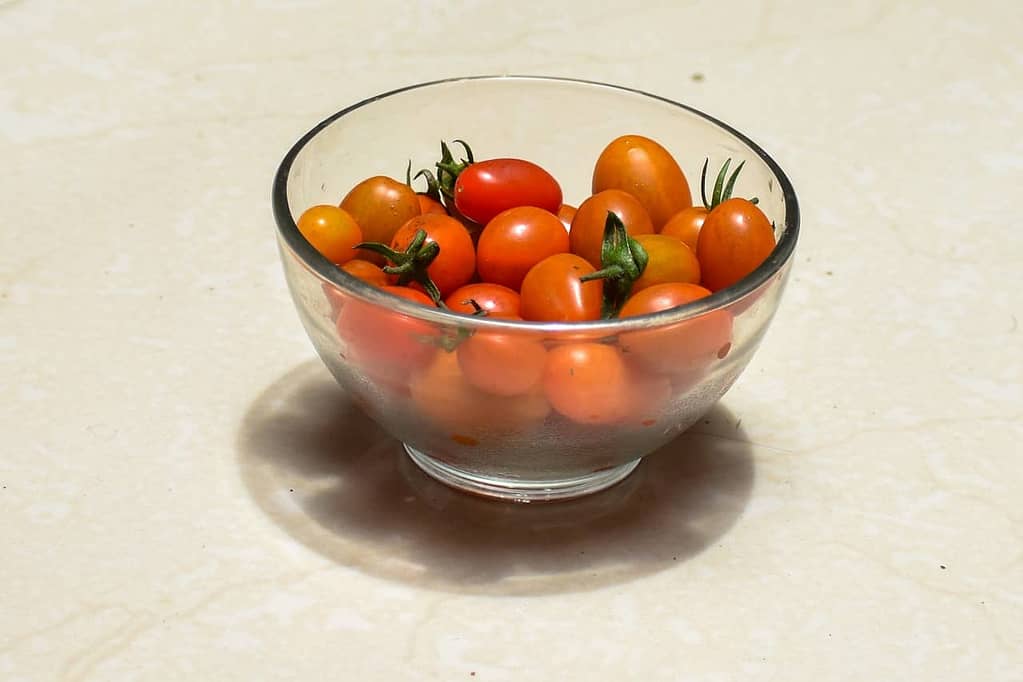
Generally, you can harvest tomatillos, about 75 – 100 days after they are planted. These veggies contain the most flavor when they are still green. The plant develops papery shells, and the fruit gradually expands to fill the husk. Once the dry exterior splits, it is time to harvest the tomatillos
Cucumbers
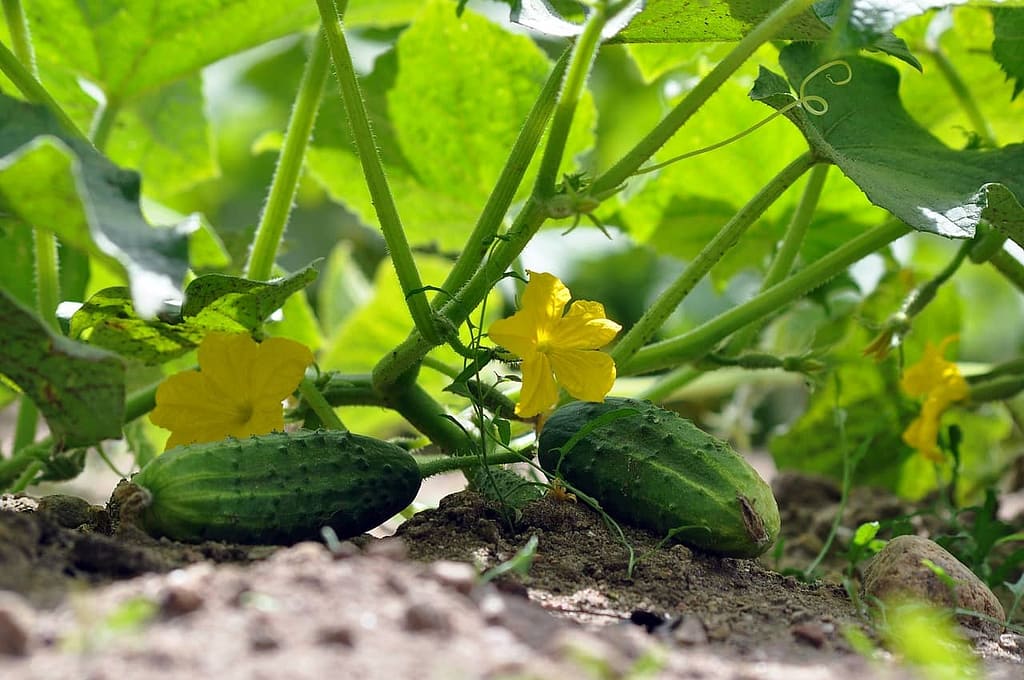
Cucumbers come in two main categories: small, bumpy pickling varieties and large, smooth slicers for enjoying fresh.
A cucumber is ripe for picking when it reaches the size and color characteristic of its particular variety. While most cucumbers exhibit a deep green hue, some cultivars may have a white or yellow tint or even a dappled appearance.
Generally, the cucumbers should be firm at the time of harvesting, for maximum flavor. Refer to the seed packet instructions or tag for specific guidance on growing and harvesting. Here are a few general guidelines:
Pickling Cucumbers: For making gherkins or sweet pickles, harvest these veggies when they reach about two inches in length. However, if you intend to make dill pickles, allow them to grow about three to four inches in length, before harvest.
Slicing Cucumbers: Slicing cucumbers intended for fresh consumption are best harvested when they reach a length of six to nine inches and exhibit a rich, dark green color. If they grow significantly larger than this, they may become bitter and lose their pleasant texture.
Eggplant

കാക്കര, Egg Plant – വഴുതന വഴുതനങ്ങ 04, CC BY-SA 3.0
When these veggies remain on the plant for longer durations, they tend to become spongy, develop tough skin, and produce large seeds. It is best to harvest these veggies when they reach the recommended size for their specific variety. At that time, most of them have a fully colored, glossy skin.
Harvesting eggplants by bare hands can be challenging, and there is a risk of damaging them in the process. It is advisable to use garden shears or a similar tool to ensure a gentle and precise harvest.
Leafy Greens
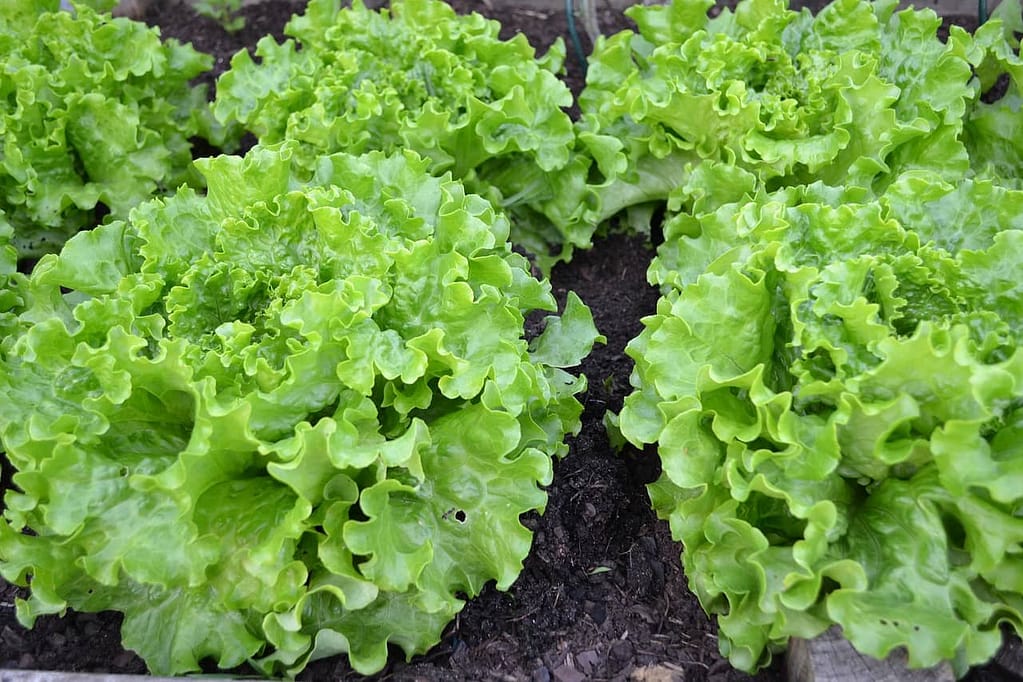
Leafy greens include Swiss chard, lettuce, and kale. Using good quality garden shears, cut off the outer leaves, starting from the bottom part of the plant. This also encourages more leaf production.
Since the outer leaves are close to the ground surface, they are more susceptible to pests and diseases. So, check them before consuming.
Some greens like kale can regrow swiftly, even if you prune out all the leaves. However, it is best to leave at least a few of them on the plants to facilitate photosynthesize.
After harvest, soak the leaves in cold salt water for some time. This drives the clinging insects out and rehydrates them so that they do not wilt.
Melons
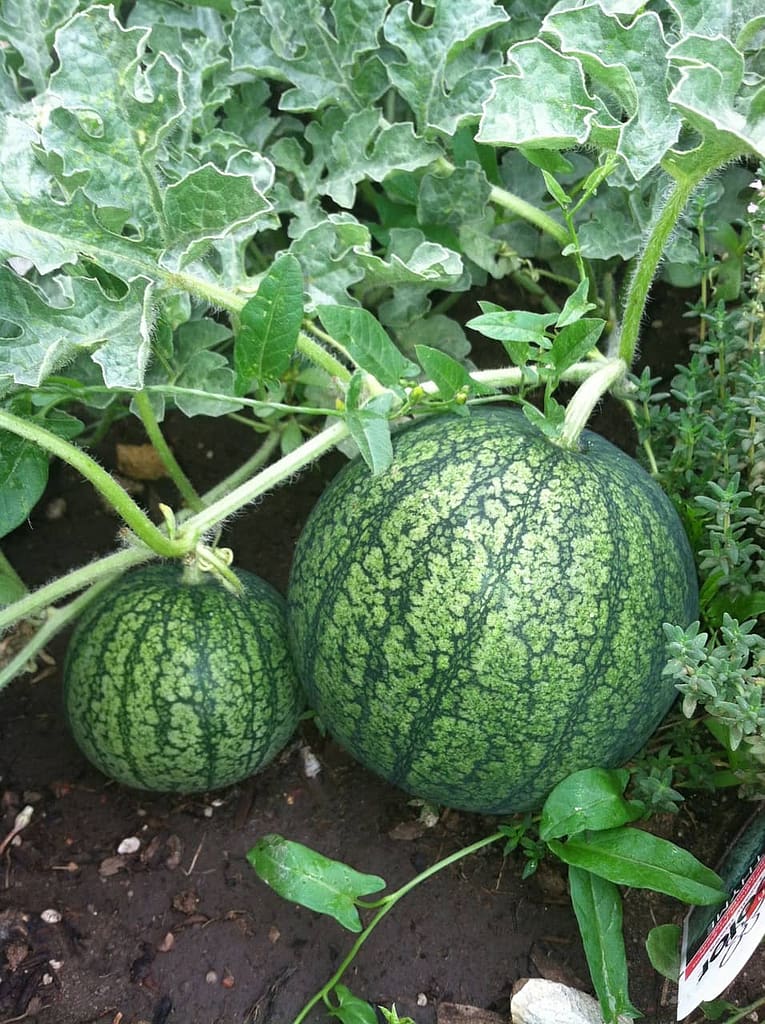
There are many types of melons, but some of the most common include watermelon, cantaloupe, honeydew melon, winter melon (or ash gourd), casaba melon (or golden beauty), Persian melon, galia melon, and snap melon.
Each variety has different ripening stages. But we have discussed a common approach for harvesting melons as below:
Observe the melons closely to determine their ripeness. Look for signs such as color changes, texture, and aroma.
Color: Most melons change color as they ripen. For example:
Watermelons: The underside (where it rests on the ground) turns from pale green to creamy yellow.
Cantaloupes (Muskmelons): The skin changes from green to beige or yellowish.
Honeydews: The skin turns from green to pale yellow.
Texture: Gently press the melon near the stem end. A ripe melon should press in a bit but not be too soft. Avoid plucking melons that are overly mushy or rock-hard.
Aroma: Smell the stem end. Ripe melons emit a sweet, fruity aroma.
Stem: Check the stem. If it is still attached, it should be dry and easily separable from the fruit.
Harvesting Melons
Harvest melons when they are fully ripe for the best flavor and sweetness. Use sterilized, clean shears or knives while harvesting melons. Leaving a small portion of stems on them, helps easy handling and storing. Handle the melon carefully to avoid bruising.
Place harvested melons in a cool, shaded area to further ripen if needed.
Remember that different varieties may have specific characteristics, so adjust your approach based on the type of melon you are growing.
Okra

Delince.J, Okra(Abelmoschus esculentus), CC BY-SA 3.0
Okra tastes best when it is young and tender, typically between 1-4 inches long. It should have a bright color and give slightly when pressed. As okra gets bigger, it loses its tenderness and becomes woody and tough. This makes it unpleasant to chew and digest.
However, you can use overripe okra for flavoring soups or stews. You can also use it in your compost pile.
If the seeds are mature, you can let the okra dry completely and use the seeds for next year’s planting.
Peppers
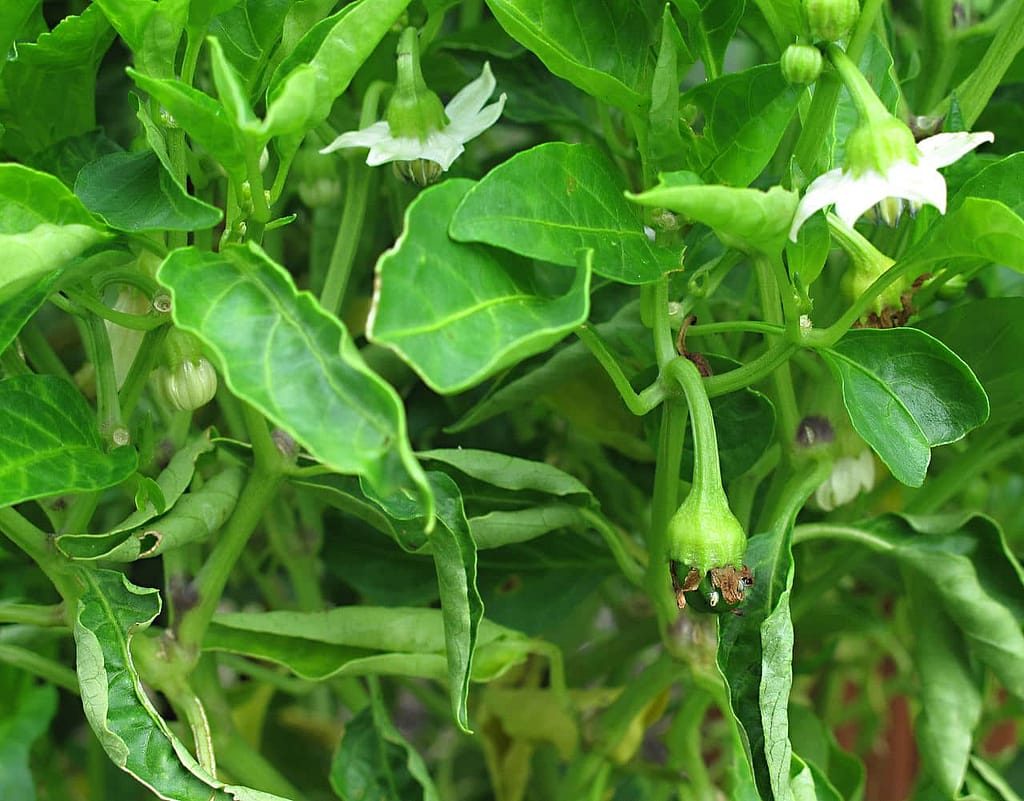
Downtowngal, Cubanelle pepper plant with flowers and emerging fruit, CC BY-SA 3.0
Generally, when pepper plants start to fruit, you can pluck them and consume them. However, if you let them ripen longer on plants, these fruits will intensify in taste, size, and color of their specific varieties. For example, sweet peppers like bell peppers taste sweeter, and Hot peppers like Jalapeños taste hotter.
When peppers are fully ripe, they reach their maximum size and color, and they also feel firm to the touch.
At this stage, you can harvest them using a sharp knife or pruners. Wear gloves when handling hot peppers to avoid skin irritation from capsaicin oil.
Do not pull the peppers off from the plants with your hands, as you may damage them in the process. Leave a small part of the stem on the peppers as this increases their shelf life.
Regular harvesting encourages more produce on pepper plants. This healthy growth helps deter most common pests and diseases to some extent.
Potatoes

Trikutdas, Potato Plant-2, CC BY-SA 4.0
There are two main times to harvest potatoes, depending on whether you want new potatoes for consumption or mature potatoes for storage.
New Potatoes: These are small potatoes that can be harvested just a few weeks after the potato plants have finished flowering. You can carefully dig up a few plants to check the size of the potatoes. If they are about the size of a ping pong ball, they are ready to harvest.
Mature Potatoes: Wait until the potato plants have died back completely, turning vine tops brown and dry. Stop watering the plants a week or two before you plan to harvest. This allows the skins of the potatoes to cure.
Instead of shovels, use garden forks to avoid damaging them in the harvesting process. You can brush off the dirt and debris from potatoes. Do not wash them, if you want to store them. Instead, place them in a single layer in a shady location for one or two weeks. This cures them fully.
After that, you can store them in a cool, dark place for several months. it is essential to avoid direct sunlight during this period. Otherwise, the potatoes may turn green.
Summer Squash
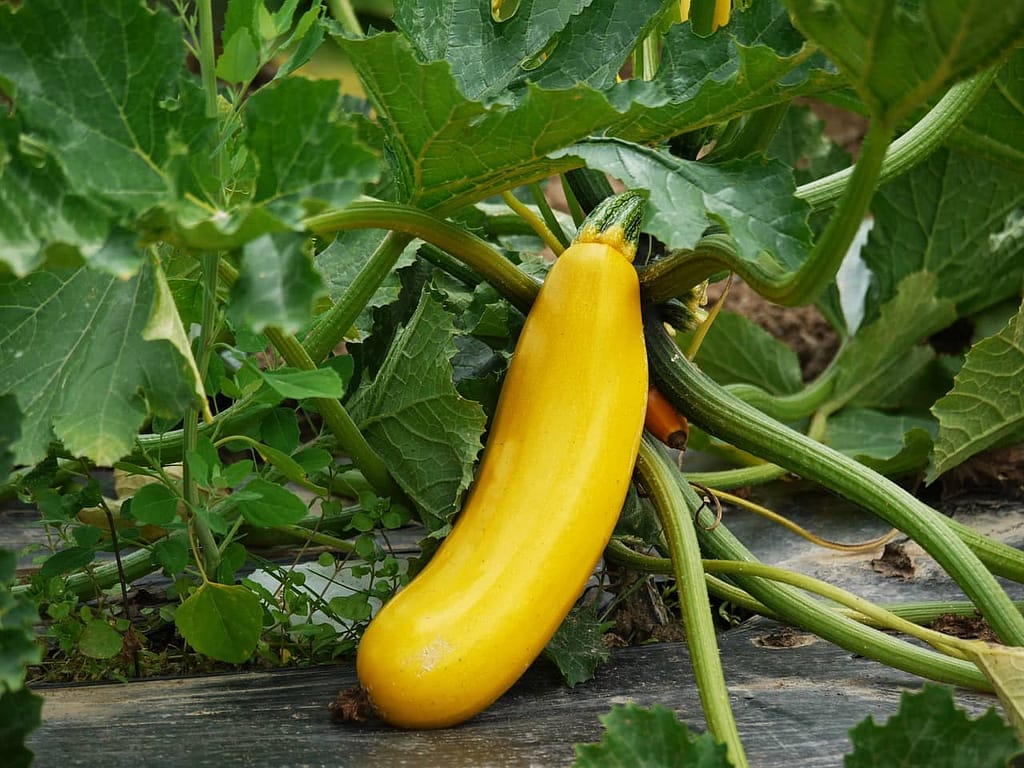
Summer squash veggies include patty pan, zucchini, and crookneck varieties. It is best to harvest them when they are young and tender. In this stage, they will be moist and have soft, shiny skin.
For maximum flavor, aim to pick them when they have reached a good size but before they get too mature.
For example, you can harvest elongated varieties like zucchini when they are about 6-8 inches long and 2 inches or less in diameter. Similarly, you can harvest round varieties like pattypan when they are about 4-8 inches in diameter
Use sharp pruners or scissors to carefully cut the squash from the vine. Leave 2-4 inches of stem attached to the squash. In any case, avoid pulling or twisting the squash, as this can damage the vine. Handle the squash gently to prevent bruising or breaking the skin. Regular harvesting encourages the plant to put its energy into producing new fruits.
Winter Squash

Forest & Kim Starr, Starr-180810-5117-Cucurbita pepo-spaghetti squash -Hawea Pl Olinda-Maui (30834349918), CC BY 3.0 US
Winter squash veggies include acorn, spaghetti, and butternut varieties. There is a prevalent misunderstanding that winter squash plants grow well in the winter months. In fact, they are summer-growing varieties that thrive in warm weather. Due to their thick skins, you can store these veggies well and enjoy them throughout the winter season.
After forming vines, these plants produce veggies that ripe in about a couple of months. Each variety has its own mature rind (skin) color. You can find these instructions in the seed packets or seller websites
Generally, ripened squashes have hard rinds that do not give under-fingernail pressure. Moreover, when you tap a matured squash, it produces a hollow sound.
For harvesting, use sharp pruners or a knife to cut the squash from the vine. Avoid pulling or twisting, which can damage the produce. Leave 2-3 inches of stem attached to the squash. This stem helps prevent rot during storage.
Be gentle with the squash to avoid any bruises or cuts. Do not carry the squash by its stem. Damaged squash won’t store well
After Harvest:
Some winter squash varieties like spaghetti and butternut benefit from curing before storage. But other varieties like pumpkin do not need curing.
Field curing (optional): If weather permits, leave the squash in the field for a week or two to “cure.” This allows the stem to dry completely and harden the rind further.
Indoor curing: Bring the squash inside and place it in a warm, dry location for a week or two for curing.
Storage:
After curing, store the squash in a cool, dark place like a basement or closet. Different squash varieties have varying storage times. You can find these data on seller websites.
Tomatoes
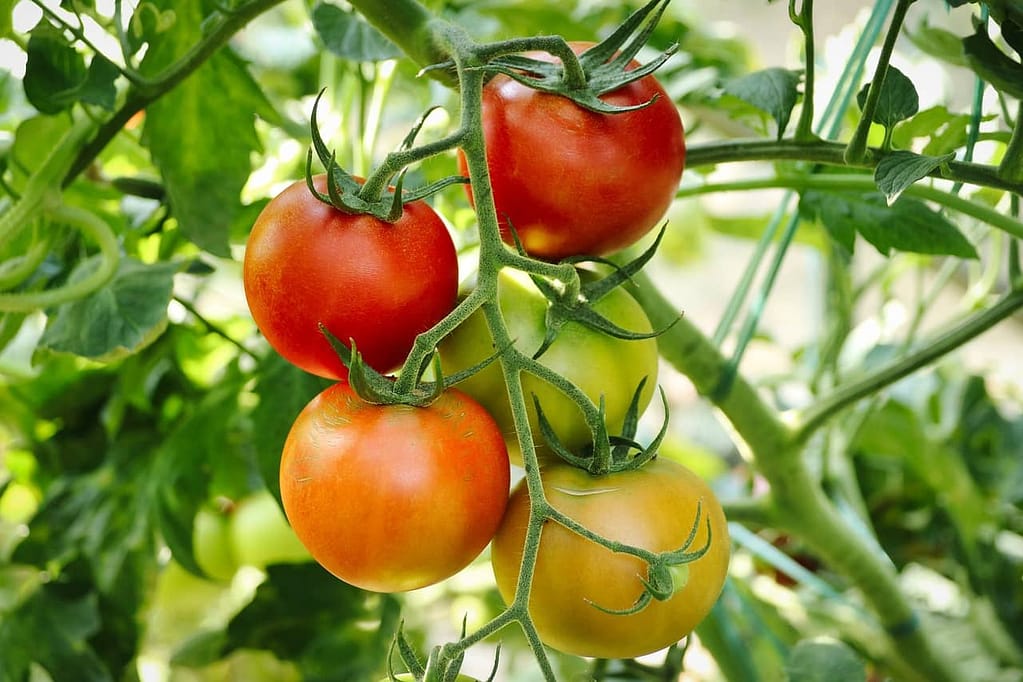
You can harvest tomatoes at different stages, based on your needs. Both ripe tomatoes and unripe ones have their own uses.
Ripe Tomatoes:
For the fullest flavor and sweetness, let your tomatoes ripen on the vine until they reach their mature color (red, orange, yellow, etc.). This is ideal for eating fresh tomatoes in salads or sandwiches.
You can also pluck them when they start to show a hint of color (usually at the blossom end) but are still mostly green or white. This is a good option if you are concerned about pests or adverse weather conditions. You can then ripen them off-vine.
If you want to speed up the off-vine ripening process, place these tomatoes in a paper bag along with a ripe banana or apple and close it loosely. Then, place it near the pantry or windowsill for a few days. Check this bag periodically to confirm the ripeness.
Unripe Tomatoes:
You can use unripe, green tomatoes in a variety of dishes including green tomato gazpachos, Jams, and salsas. You can also ferment green tomatoes for using in dishes like sauerkraut and side dishes like kimchi. However, most people use green tomatoes for pickling and frying, especially in Mexican-type dishes.
How to Tell If a Tomato is Ripe:
Depending on the variety, ripe tomatoes usually reach the full expected color. They also give slightly upon a thump press. You can easily detach ripe tomatoes from vines.
How to Harvest:
Use sharp pruners or scissors to cut the stem where it connects to the vine. Avoid pulling on the tomato, as this can damage the vine. In any case, handle the tomatoes gently.
Store ripened tomatoes at room temperature, out of direct sunlight. In this way, you can keep them up for several days.
Conclusion
Over time, you will gradually learn harvesting vegetables and other crops that you grow, easily. After harvest, make sure to store them in a place that has sufficient air ventilation, the right moisture, lighting conditions, and temperature for the specific crop. This helps minimize the wilt and tissue breakdowns, thereby increasing shelf life.


